Free 8-step guide
The 7-Minute Lift
Facial massage for firmer, younger-looking skin. No tools. No products. Nothing to buy. Just your hands and seven minutes.
8 steps7 minutesHands onlyFree PDF
Free 8-step guide
Facial massage for firmer, younger-looking skin. No tools. No products. Nothing to buy. Just your hands and seven minutes.
The part everyone skips
Almost every facial massage video begins at the cheekbones. That's the wrong end. The jaw is where a day of screen time and quiet clenching collects, and it holds the whole lower face tight.
This routine starts there, releases it, then works outward along the cheekbones and down the neck. The order does more than the pressure.
What's inside
Opens the jaw and temples first, so everything above and below stops pulling against it.
Slow downward sweeps at the neck and collarbone. Overnight puffiness has somewhere to go.
Upward and outward along the cheekbone, finishing with a look that reads brighter and more awake.
The research
Northwestern University dermatologists ran a daily facial muscle routine with middle-aged women for 20 weeks. An independent panel rated their after photos an average of three years younger, with measurably fuller cheeks.
JAMA Dermatology · 2018
A randomised controlled trial put 34 women through ten minutes of facial massage, five times a week, for eight weeks. Jawline and mid-face measurements reduced by 2.2 to 3.3 millimetres. Elasticity and muscle tone both improved.
Journal of Cosmetic Dermatology · 2025
These studies tested facial exercise and tool-based massage, not this specific routine. They are why the method is built the way it is — not a promise about your results.
The routine
Light pressure throughout — the skin should move with your fingers, not slide underneath them. Clean hands. A little oil if you prefer.
Sit tall, shoulders soft, teeth apart. Rub your palms together until warm, then cup them lightly over your face without pressing. Three slow breaths — out a little longer than in.
Where you feel it: warmth, and the first drop in tension.
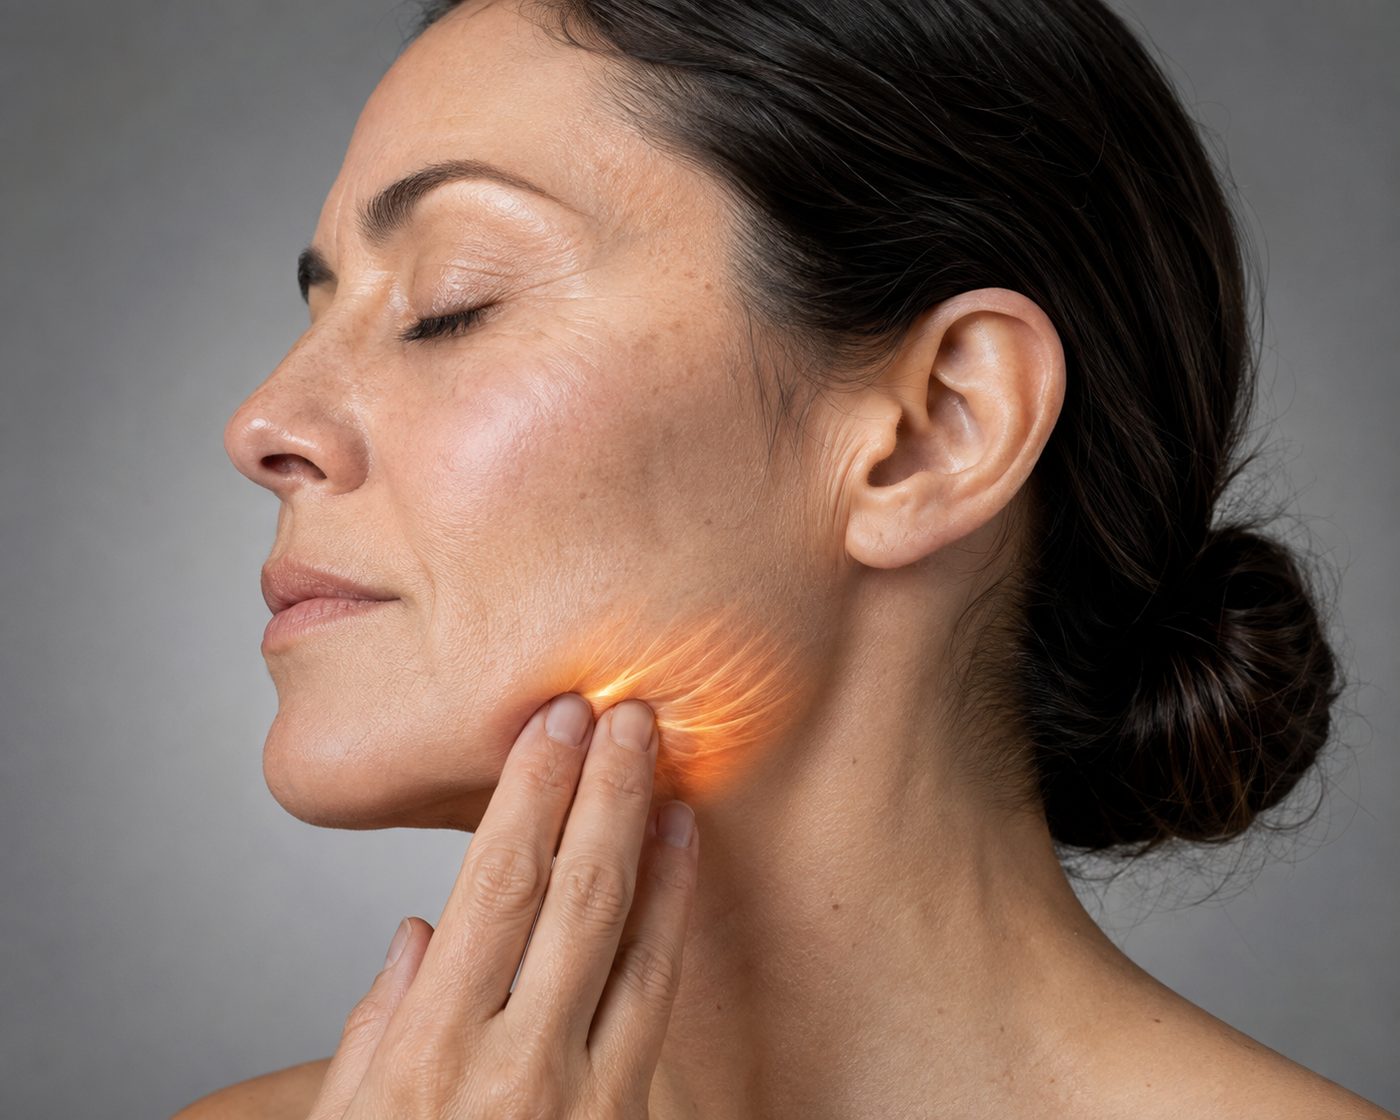
Find the muscle just above the back corner of the jaw — clench once to locate it, then unclench and leave the teeth apart. Small, slow circles with two or three fingertips, both sides. Work down toward the jaw angle and back up.
Where you feel it: the broad muscle at the back of the jaw.
Fingertips at the temples, slow circles. Then the pads of your index fingers just under the inner ends of the brow bone, sweeping outward along the bone to the temple. Four or five passes.
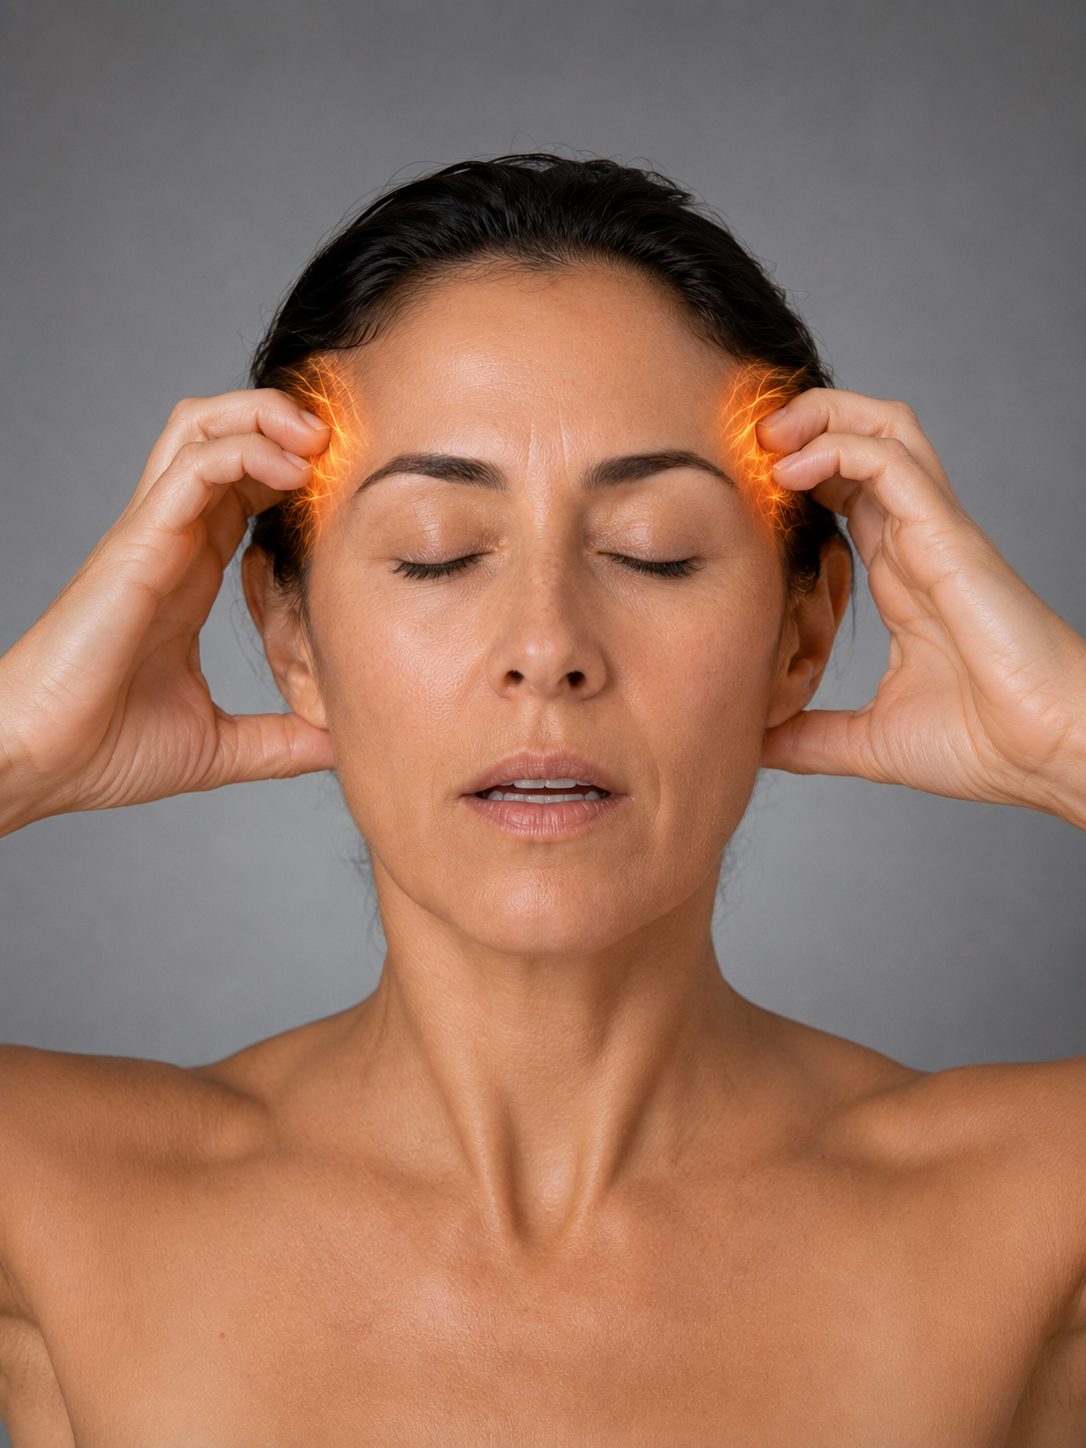
Where you feel it: a light spreading along the brow bone.
Steps 4 to 8
The cheekbone sweep, the under-eye, the jawline, the drainage work at the neck, and the close. Enter your email — the rest opens below, and the PDF is yours to keep.
Please enter a valid email address.
Free, no spam, unsubscribe any time. See our privacy policy.
Flat fingers either side of the nose. Sweep outward along the top of the cheekbone toward the ear, then repeat just below it. Slow, even, light — eight to ten passes each side.
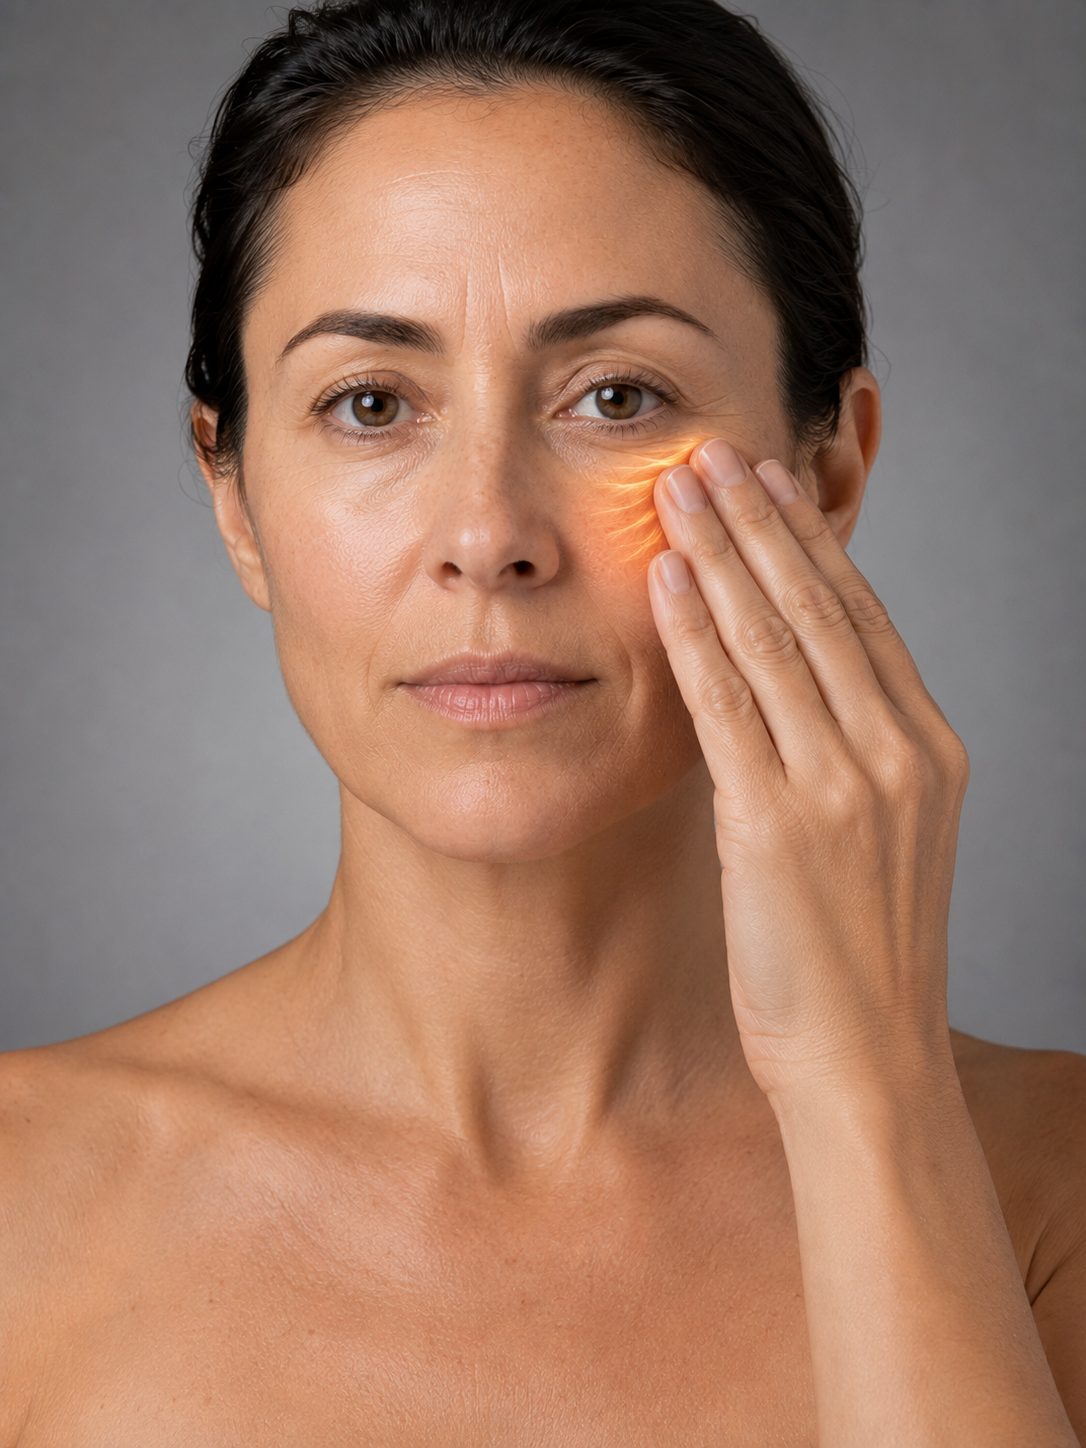
Where you feel it: a smooth glide across the cheek. No dragging.
Ring finger only — it's the weakest finger, which is the point. Tap gently along the bone under the eye, inner corner outward. Tapping only. Never drag, stretch, or press here.
Where you feel it: light tapping on bone, never on the lid.
Small circles at the corners of the mouth, then a light pinch-and-release along the jawline from the centre of the chin out to the ear. Three passes each side.
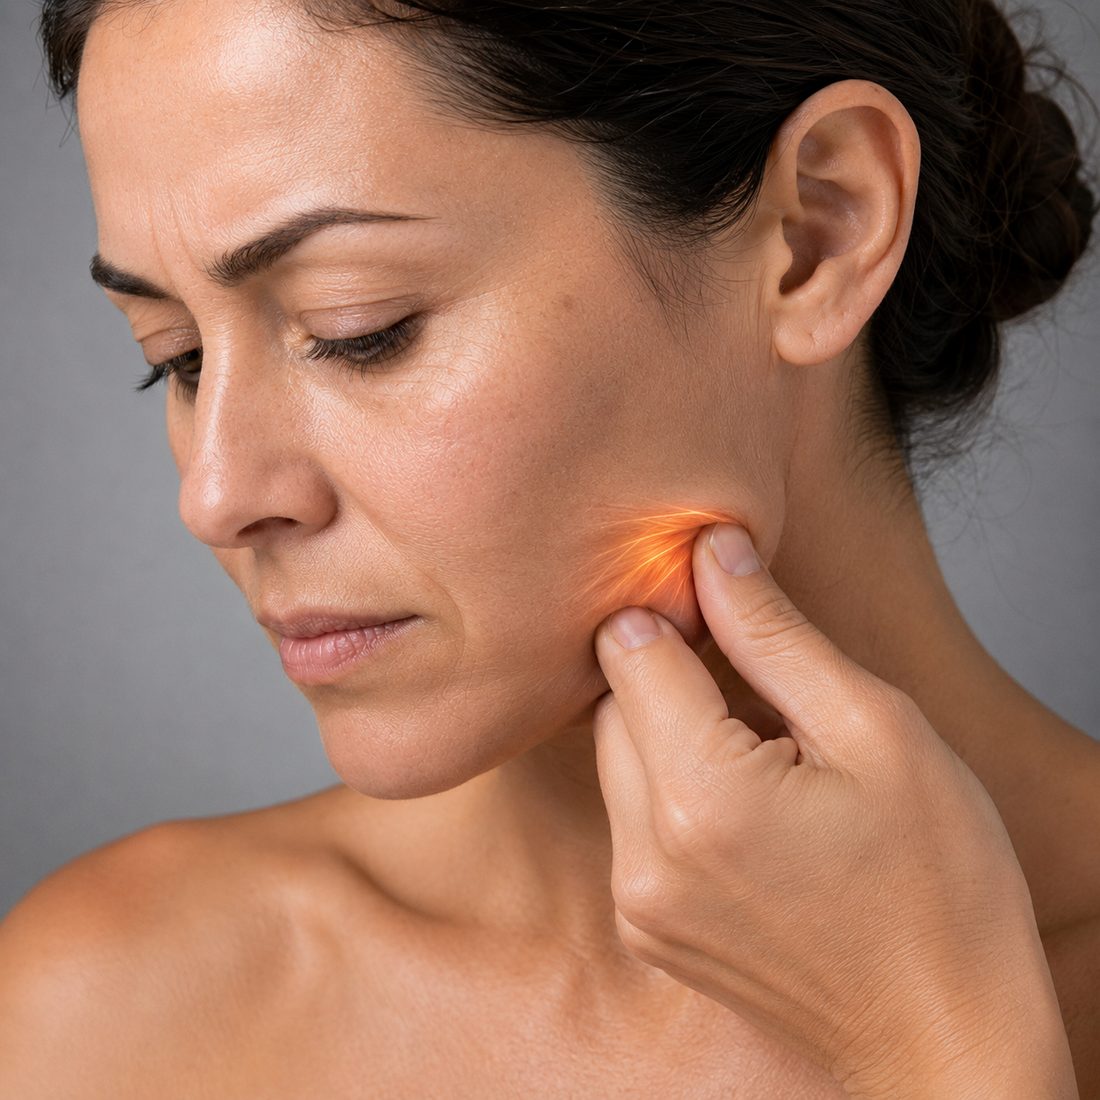
Where you feel it: the jawline edge.
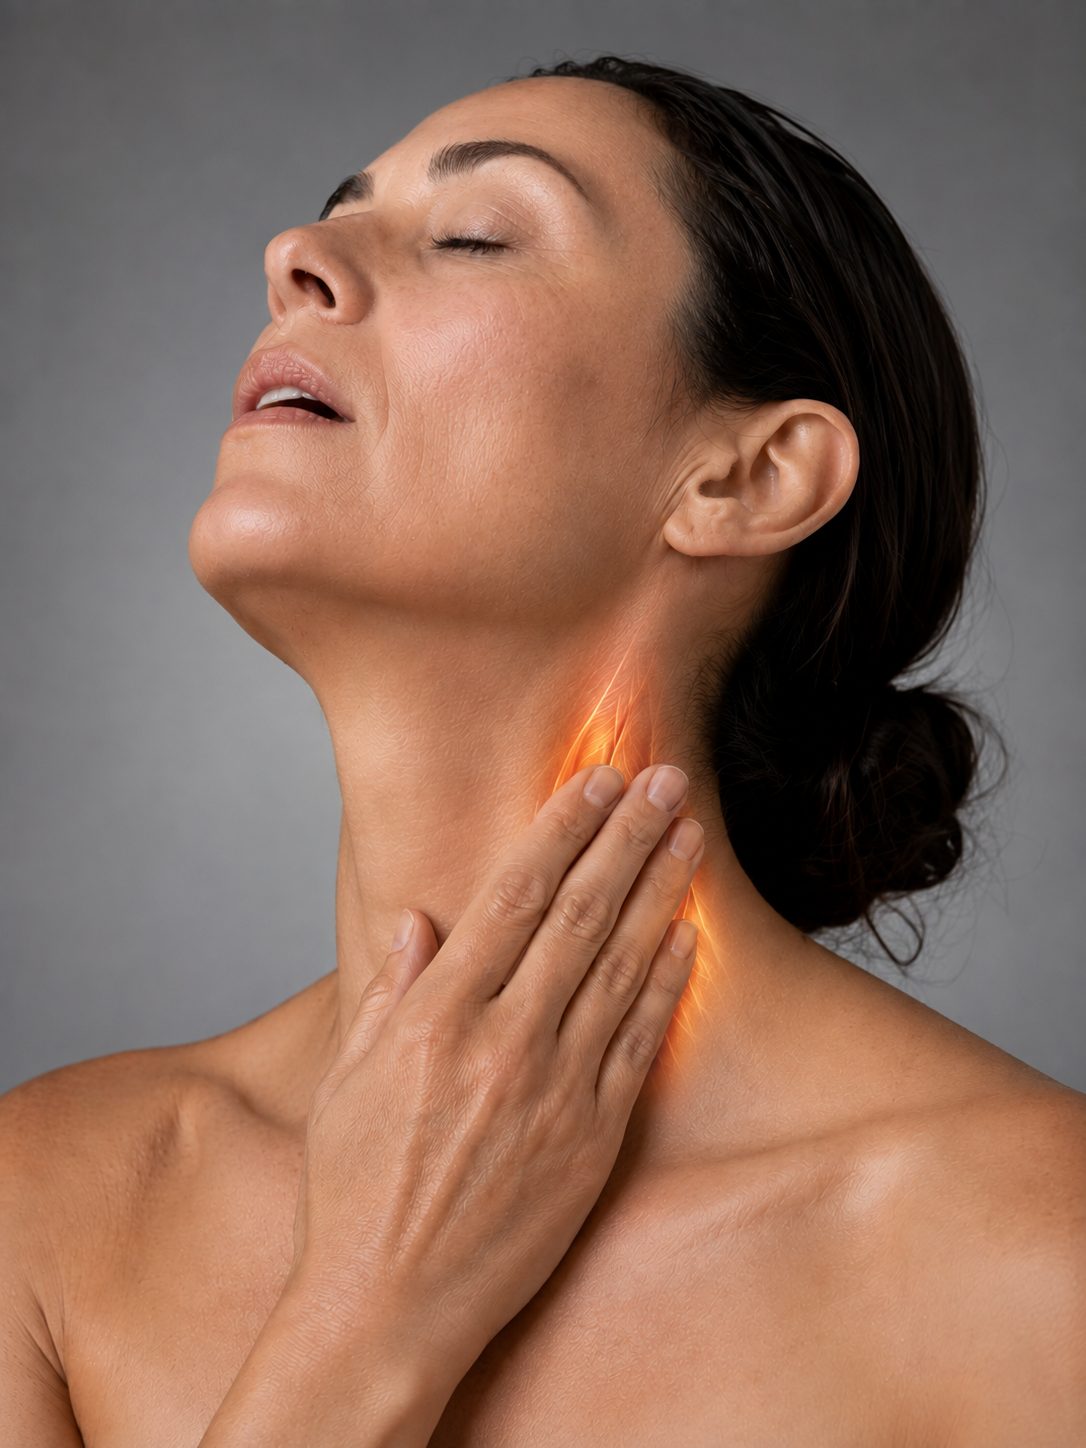
Flat, open hands. Downward only — from under the ear, down the side of the neck, finishing at the collarbone. Very light, more stroke than massage. Ten slow passes each side. Stay off the front of the throat.
Where you feel it: one long downward stroke.
Warm the palms again, cup them over the face. Three slow breaths. Notice how the jaw is sitting now compared with seven minutes ago.
Where you feel it: stillness. This step matters more than it looks.
Total: about 7 minutes, including the pauses. Download the PDF →
Before you start
Free, forever
The full routine as a six-page PDF, yours to keep and share.
Get the free guide